Pages

Showing posts with label Killa Kans. Show all posts

Friday, 15 October 2010

Another Kan?

Not much to report for the last couple of weeks, im still reeling from the Forge World mojo killing from Games Day/

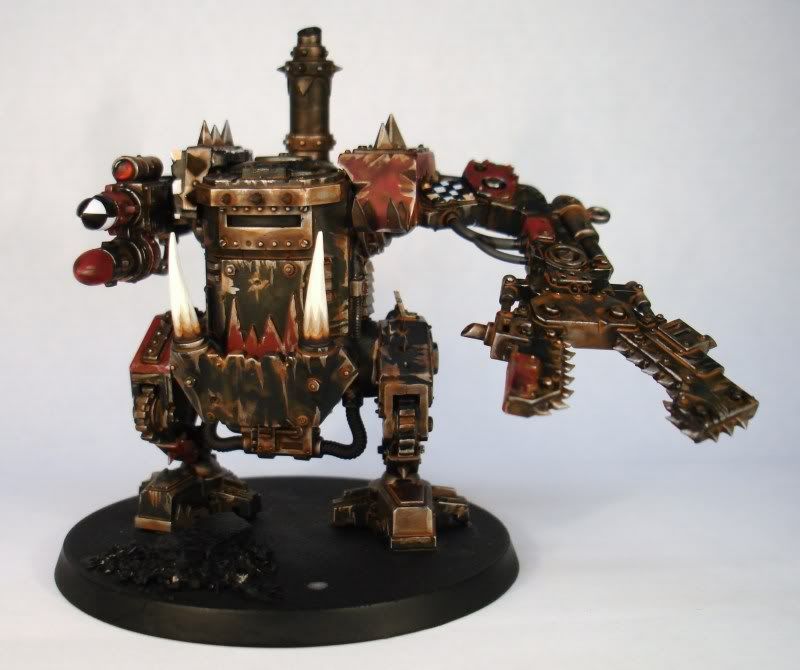
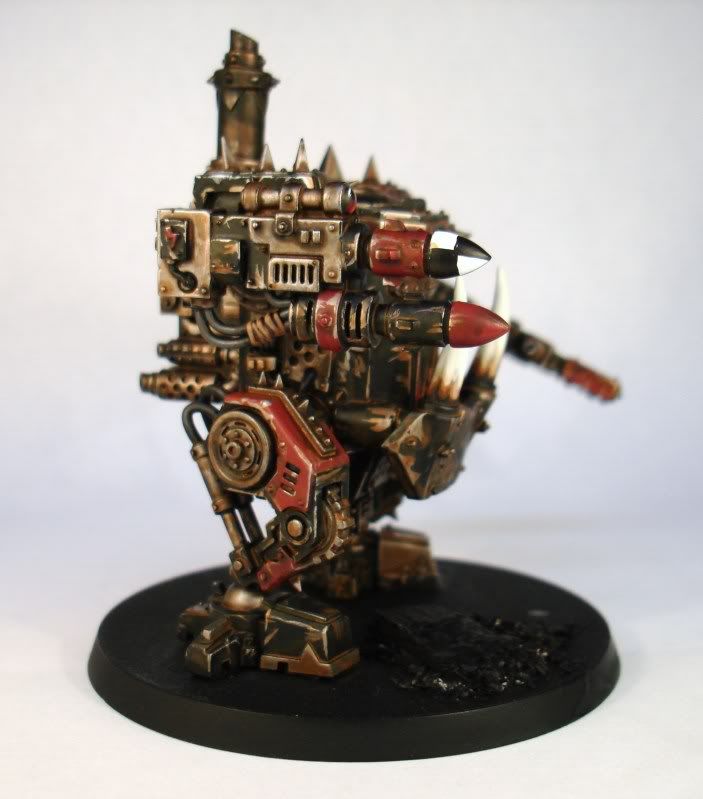
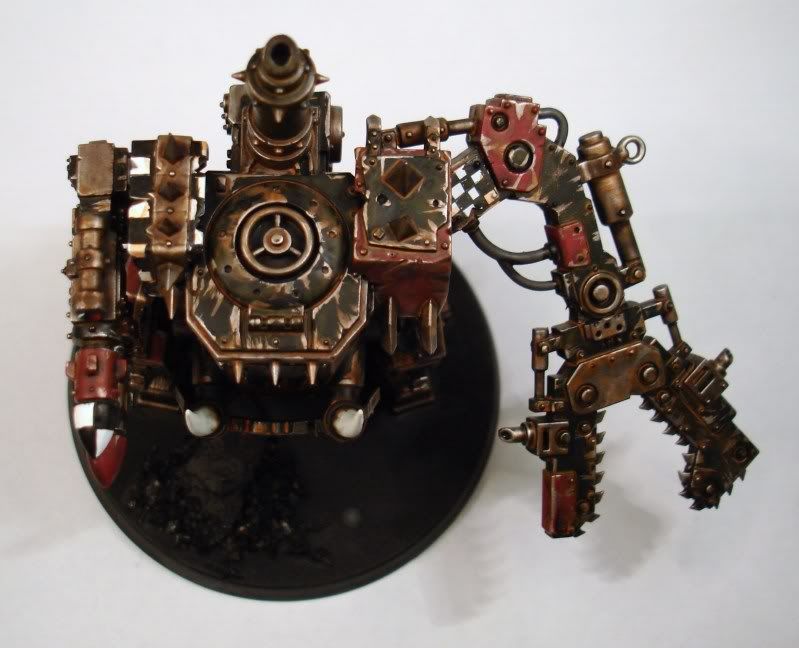
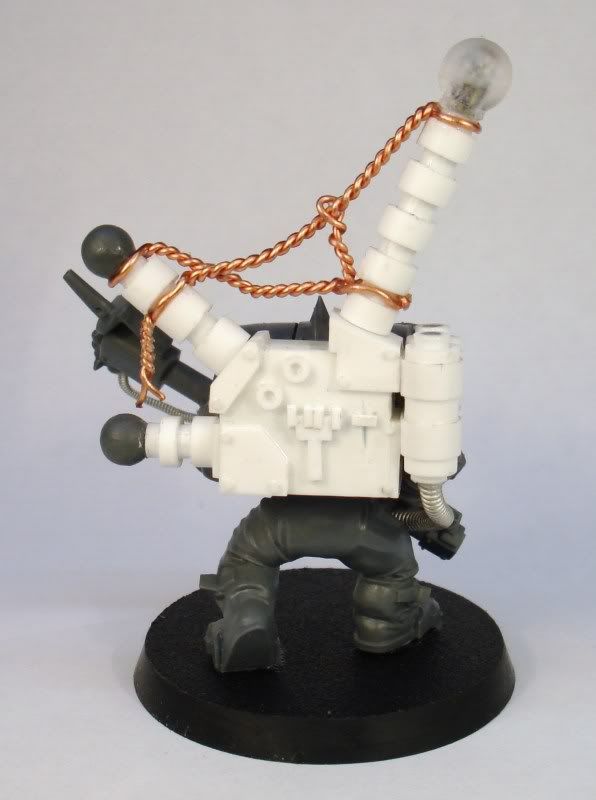
On the plus side, i've managed to get a couple of things done. Firstly, another character for Mol over at Inq28, and another Killa Kan, bringing the current total to 3.


I've also made a start on the first of 2 Deff Dreads for the army. This is at the basecoat stage, next its on to the washes, which should take half the time the basecoats took. Expect some finished photos in the next couple of days.


Thats about it today, though I can't really sign off without thanking Mol at Inq28 for the large box he sent me last week. Not going to give up too many details of whats in it, though it will be Mega....


Thanks for reading.

Tuesday, 5 October 2010

Tutorial - Ork Dreads and Kans.


Been a while since the last post, personally I blame Forge World for a post Games Day lack of mojo. But, I have managed to get the tutorial for my Ork vehicles done.


I've used a weapon arm for the tutorial as it was easier to photograph but the following applies to anything, from Battle Wagons to Kans to Warbikes.

The piece has been undercoated with black., all paints are from Games Workshop.


Stage 1


Stage 1 - Drybrush Codex Grey


Stage 2

Stage 2 - Paint any red plates with Mechrite Red.


Stage 3

Stage 3 - Basecoat any metal areas with Boltgun Metal.


Stage 4

Stage 4 - Highlight the metal from the stage 3, then add any scratches and chips, with Chainmail.


Stage 5

Stage 5 - Wash the entire piece with Devlan Mud.


Stage 6

Stage 6 -  
Start by basecoating the area with Fortress Grey. I use 2 thin coats as to not obscure detail. 
Layer a 1/1 mix of Fortress Grey and Skull White over the basecoat, again with 2 thin coats. 
Layer Skull White in 2 thin coats over the previous layer. 6 coats may seem excessive, but it's the only way to build up a decent white over black. These 6 layers may look a little streaky but don't worry too much, this is an Ork vehicle after all. 
Next, use thinned Chaos Black to mark out a checker pattern on the white area. Again with Chaos Black, fill in alternate squares. Again, neatness isn't a massive issue. 
After you've painted in the black squares, apply the chips and scratches over the checker pattern with a 1/1 mix of Chaos Black and Codex Grey. 
Once you've basecoated the damage on the white areas, go back over them with Chainmail to highlight.


Stage 7


Stage 7 - Wash with a 2/2/15 mix of Bestial Brown, Klear and water. Klear is an clear acrylic floor polish, found in most supermarkets. It works well as a gloss varnish, but i've used it in the wash mix to break the surface tension of the wash, which allows it to flow into the recesses on the figure without pooling.


Stage 8

Stage 8 - Wash with a 2/2/15 mix of  Macharius Solar Orange, Klear and water. Limit this wash to very rusty areas, rivets and deep recesses.


Stage 9

Stage 9 - Highlight the prominent edges of the weapon blade and add more chips and damage with Chainmail. Adding the brighter metal chips to the weapon alone will lighten the area, drawing the eye to it.


Using this method you could punch out a Kan in around 3 or 4 hours, not including drying time of the washes. Perfect time to make a cup of coffee. 


Im going to be working on a couple of figs for Mol over at Inq28, before moving on to the Deff Dreads.

Thanks for reading.


Sunday, 12 September 2010

Sunday update.....

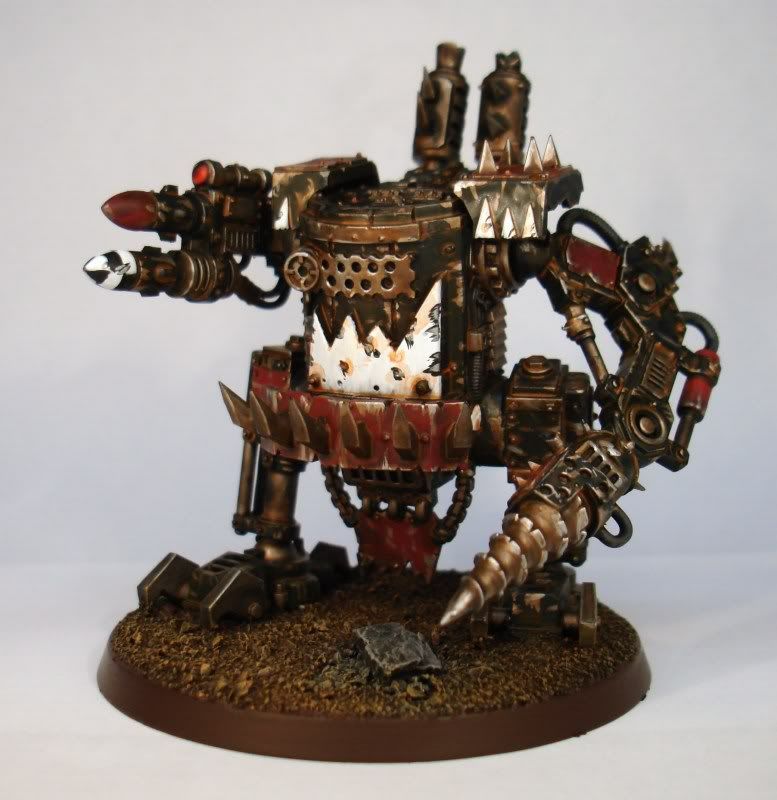
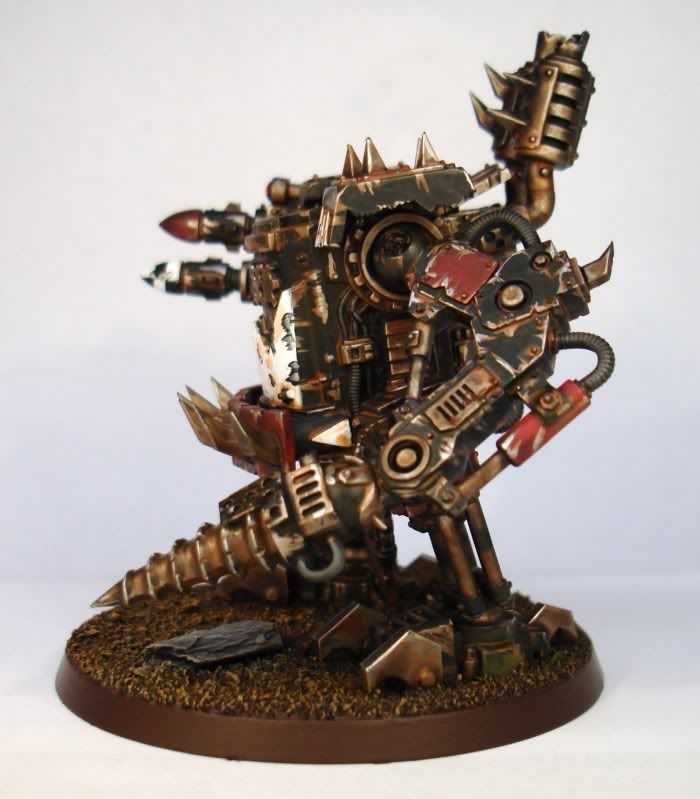
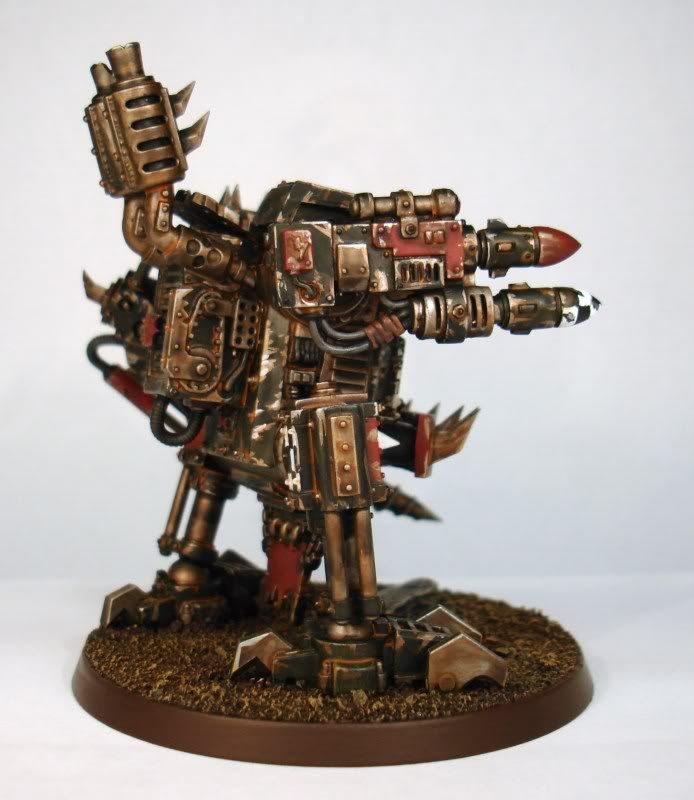
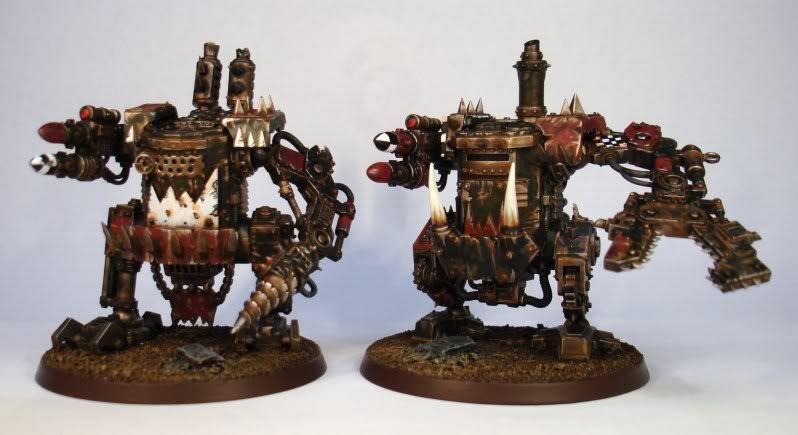
Seeing as i've not got much that could be deemed useful to say tonight i'll leave you with pictures of the current state of the army, 2 finished Killa Kans.

If all goes to plan i'll be putting up a tutorial next week.

First the newest Kan.


Next the 2 Kans together.


 Thanks for reading.
Friday, 10 September 2010

A Kan and a question......

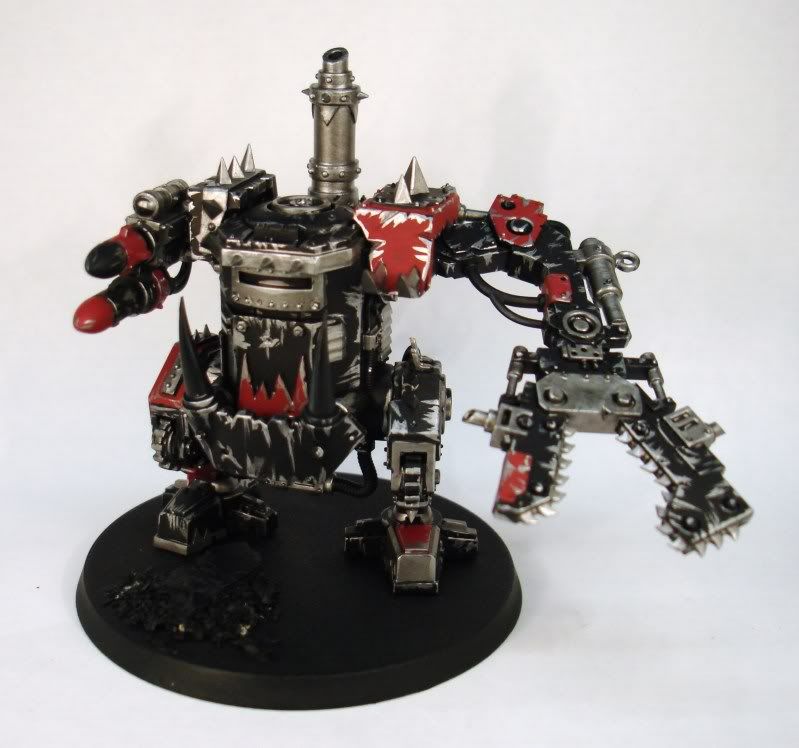
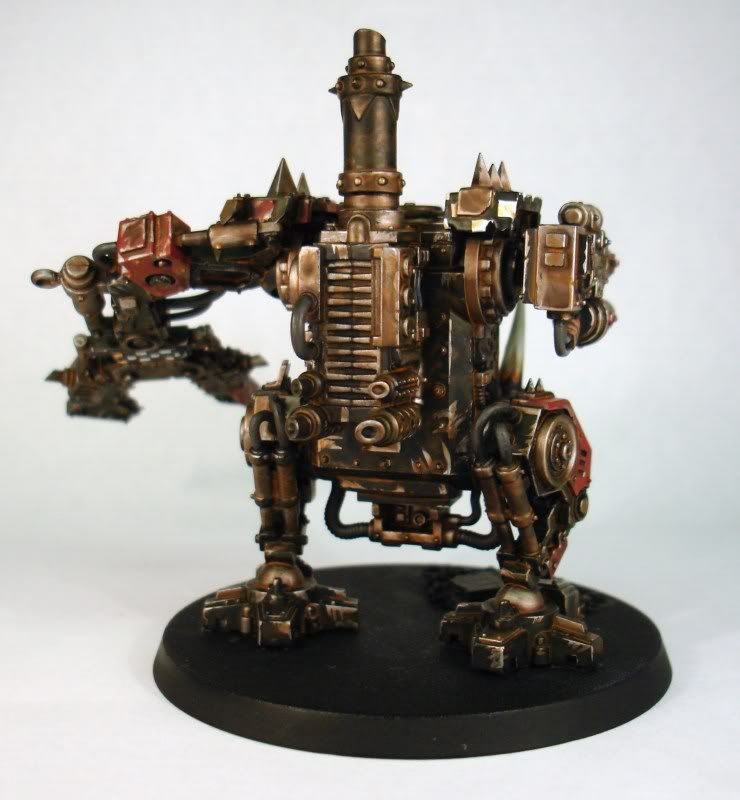
I've had a couple of productive evenings so far this week and in the process managed to get the first of 9 Killa Kans finished. I say finished but it's not quite there as i've still got the base to do. More on that later.


I've deliberately gone for a very dirty/rusty feel as a bit of a cheat, the paint job is very quick and the weathering covers up a multitude of mistakes. To go from undercoat to the stage in the pictures has taken around 4 hours so far, not that much really when you consider the size. When im a couple of models into the force i'll knock up a tutorial for painting a Kan from start to finish.


The only problem im having at the moment is deciding on what to do with the bases. Previous armies i've done have all ended up being the usual sand/static grass combo seen virtually everywhere and while I think it looks ok, i'd like to try something different with the Orks. If you've got any thoughts i'd love to hear them.


Secondly, this week I was welcomed into the From The Warp blogging community, a hub of some of the best 40k blogs around the web.

To mark this, at least once a week i'll pick a few of my favourite blogs and do a little promo for them. If I read them, surely you should too?


Stahly's Paint Station, one of my favourite blogs at the moment for the sheer amount of great work Stahly posts. Some excellent tutorials on a variety of subjects that are well worth a read no matter what your painting.

A Gentleman's Ones, b.smooth's excellent blog covers a wide range of hobby related goodness, from campaign progress to painting tutorials. Another worthy addition to any blog roll.

Rant in E Minor The (mostly) Eldar related blog of Sorrowshard, a very good friend of mine. While he paints at a snail's pace, his work is some of the best i've seen anywhere in the world. Has quite a love/hate relationship with the Eldar, but is always pushing to see what the book can do. If the big blocks of text don't put you off and you like pointy ears it's well worth a read.


Now to go back and agonize over how to paint the base of the Kan. Might even be time for a cup of tea. Until next time, thanks for reading.
Steve


Tuesday, 7 September 2010

Some actual progress?

Yes, the title doesn't lie, i've actually made some progress with the Orks.

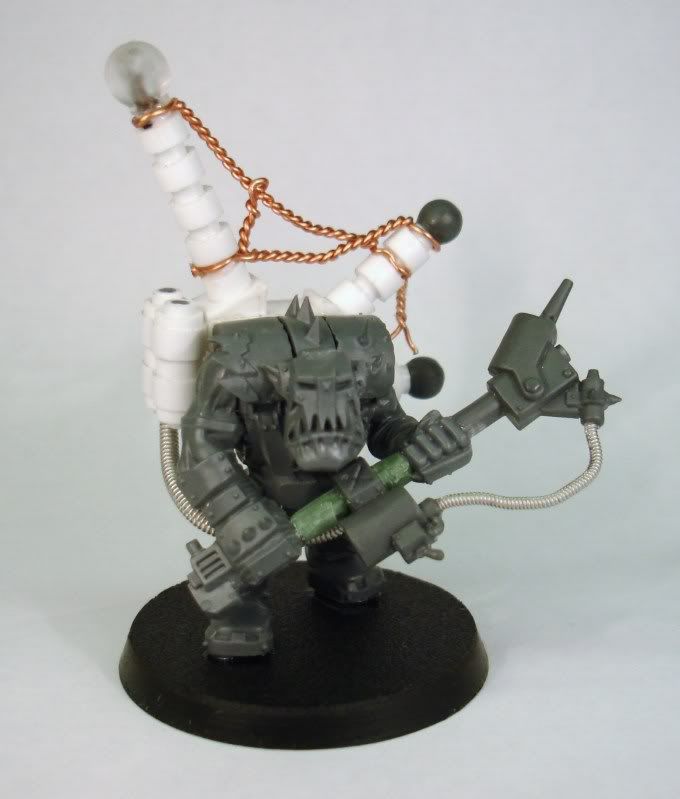
Firstly, the second Big Mek has been assembled. I would of had him finished about a week ago but it took me that long to get scratch build the Kuston Force Field. Very pleased with him though, the pose in particular im quite proud of, almost like hes stomping over to a downed vehicle, ready to carve it up with his trusty burna.....


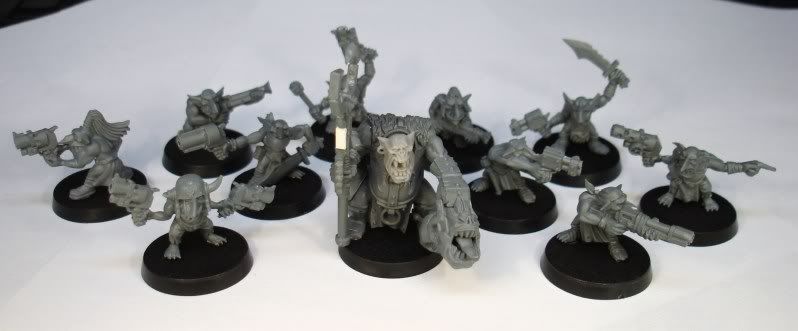
Next up today is the first ten of forty grots in the force, im aiming to paint these alternately with the Kans so I don't get too bored.


Lastly tonight, i've made a start on the first Kan. Going for a simple Goff scheme for the force, using lots of weathered black with red details and lots of black and white checks. Since this was taken i've basecoated the horns and given the whole thing a generous wash of Devlan Mud. After some quick highlights and details it should be done.


If all goes to plan over the next day or so I should have an update friday with the first of the finished Kan.

Thanks for reading.